A dental implant motor lasts longer when it gets cleaned after every use, checked before every case, and serviced on a schedule instead of only after something breaks. Skip any of these habits and wear builds quietly until it turns into a stall mid-surgery. This piece covers dental implant motor maintenance, from daily cleaning to the checklist worth running before surgery.
Why Routine Maintenance Protects Implant Motor Reliability
Routine care catches small wear before it becomes a failure at the worst possible moment. A motor that runs a little rough during a low-stakes case will often run a lot rougher, or stop outright, during a longer procedure under load. Extended torque at low speed, repeated sterilization cycles, and constant handling are stresses regular handpieces rarely see, and none of them are avoidable in daily practice.
What is avoidable is the cost of ignoring them. A motor that goes down mid-schedule does not just interrupt one case. It means a delayed or rescheduled surgery, a chair sitting idle, and staff time spent scrambling for a loaner or backup unit. That hidden operating cost is usually far higher than the maintenance that would have prevented it. Clinics that treat maintenance as a fixed part of the workflow, not an occasional task, tend to see fewer surprise breakdowns and get more years out of the same unit.
Daily Cleaning and Storage After Each Procedure
The sequence below reflects common practice across implant motor systems, but exact parameters, water quality, lubrication frequency, and machine-wash compatibility, vary by manufacturer and model. Check your device's own instructions for use (IFU) before self-maintenance, and defer to those figures wherever they differ from what's outlined here.
The sequence looks like this in practice:
- Remove the bur and detach the handpiece from the motor as soon as the procedure ends, then wipe down or pre-clean the surface before debris dries.
-
Fully dismantle the handpiece and rinse each part under cold, running water below 35°C, moving the pieces back and forth to flush out residue. Where the device's IFU specifies a water quality, deionized, demineralized, or potable, use exactly that grade. Untreated tap water can leave mineral deposits that affect performance over repeated cycles, so don't assume plain tap water is always fine without checking.
-
Clear excess water from every piece with oil-free, filtered compressed air at no more than 3 bar, then reassemble.
-
Dry the reassembled unit with compressed air or a clean lint-free cloth, and wipe the handpiece and motor cable with a disinfectant, wearing gloves and eye protection throughout.
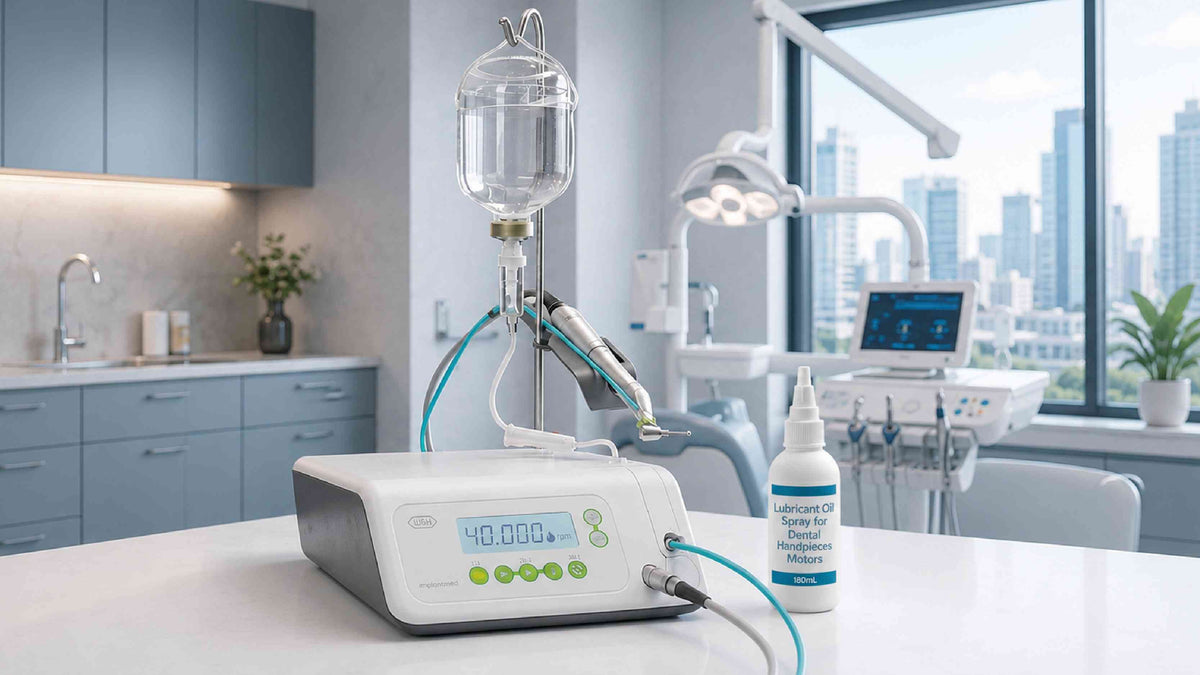
- Lubricate the handpiece, not the motor unit itself, which on most systems is pre-lubricated for its service life and should never be oiled. W&H's reprocessing instructions call for oiling the handpiece after every internal cleaning and again before each sterilization, or at minimum once daily if it sees more than about 30 minutes of use.Some practices run a thermal washer-disinfector instead of the manual rinse. That works only for handpieces the manufacturer has explicitly validated for it, marked with a thermo washer disinfectable symbol or statement in the IFU, not every model in a lineup qualifies. Confirm this before use, then lubricate the dry handpiece right after and sterilize.
 A quick test run confirms the lubrication took. Hold the handpiece head down, start it at the lowest speed, and bring it up to full speed over five to ten seconds, running for about thirty seconds total. Wipe off any excess oil with gauze. If debris still shows up at this point, repeat the cleaning and lubrication steps rather than sending the unit into the sterilizer as is.
Package the load in a pouch sized for the contents and never reused, then sterilize following the written instructions for that equipment. Once sterile, store the unit dust-free and dry. How long it stays sterile depends on storage conditions and the packaging used, so a humid or crowded storage area shortens that window even for a load that was sterilized correctly.
Inspection Points That Reveal Wear Before Failure
A quick visual and functional check, done before the day gets busy, catches most problems while they are still minor. The three areas below break this down by timing: before use, during use, and after the fact through records.
Pre-Use Checks for the Motor and Handpiece
Run through these points before the first case of the day rather than waiting for a symptom to appear.
|
Check |
What to look for |
|
Cable and connector |
Cracks, fraying, or loose fit at the console |
|
Handpiece attachment |
Smooth engagement, no wobble or grinding |
|
Sound at idle |
Even hum, no rattling or knocking |
|
Speed and torque display |
Matches the set value without drifting |
|
Housing |
No cracks, discoloration, or residue in seams |
A motor that passes every point above is not guaranteed to run without issue, but the odds shift heavily in its favor.
Symptoms That Call for a Stop-and-Document Decision
Stop the case and set the unit aside the moment any of these appear: a burning smell, a grinding sound under load, torque that drifts on its own, unusual heat at the handpiece, or a connector that feels loose during use. None of these are cosmetic. Each one points to a mechanical or electrical issue that tends to get worse under continued load, not better.
It costs a few minutes and a backup unit to pull a motor from service after one of these signs. It costs far more in time and patient trust if the motor keeps running and fails mid-procedure.
Records That Make Preventive Maintenance Useful
A simple log turns scattered observations into a pattern. Note the date, the symptom, and the case load at the time of any issue, even a minor one. Reviewed every few months, this record shows whether problems cluster around specific handpieces, specific staff handling, or specific points in the sterilization cycle. Without it, every issue looks isolated, and the underlying cause stays hidden.
Troubleshooting Based on the Condition You Observe
Match the symptom to the likely cause first, then act, rather than guessing at a fix. The table below covers the issues seen most often in practice.
|
Condition observed |
Likely cause |
Suggested action |
|
Reduced torque at set speed |
Worn brushes or gear wear |
Send for service before the next case |
|
Overheating during extended use |
Cooling or lubrication issue |
Stop use and inspect lubrication schedule |
|
Unusual noise at operating speed |
Bearing wear |
Remove from rotation, schedule inspection |
|
Inconsistent speed control |
Console or connector fault |
Check cable and connector, escalate if unresolved |
|
Handpiece disengages unexpectedly |
Coupling wear or damage |
Replace or service the coupling |
A motor showing more than one of these at once is closer to the end of a service interval than the start of one. Treat multiple simultaneous symptoms as a signal to schedule service sooner rather than later.
Build a Service Plan Around Use, Risk, and Documentation
Base the service interval on how often the motor runs, not on a fixed date alone. A unit used daily for full-arch cases wears differently than one used a few times a month for single implants, and the schedule should reflect that difference.
Three factors shape a workable plan. Case volume sets the baseline frequency. Procedure risk raises the bar further, since a motor used for longer or more complex surgeries deserves tighter intervals than one reserved for simpler cases. Documentation ties the two together, giving the practice a record to point to if a question ever comes up about equipment condition on a given surgical day.
A practice running several implant motors across multiple operatories benefits from staggering service dates, so a working unit stays on hand while another is out for inspection.
Use a Pre-Surgical-Day Reliability Checklist
Run this list the evening before or the morning of any planned implant surgery, not the moment before the patient sits down.
1. Confirm the motor and handpiece passed their last scheduled service.
2. Check the cable, connector, and housing for visible damage.
3. Test speed and torque settings against the values needed for the planned case.
4. Confirm a backup dental implant surgical motor is charged, sterilized, and accessible.
5. Verify the maintenance log has no open or unresolved entries for this unit.
Five minutes spent on this list the day before surgery is far cheaper than a delay discovered with the patient already in the chair.
Schedule Your Next Implant Motor Service
Reliable implant motor performance comes down to three habits: clean after every use, inspect before every case, and service on a schedule tied to actual use rather than convenience. Practices that log symptoms and act on early signs replace unplanned breakdowns with planned downtime, which is a trade worth making every time. If you're unsure whether a motor is due for service, or a symptom on your checklist needs a closer look, Plovio's product specialists can help you match the right implant motor to your case volume and walk you through repair options for the unit you already run.
FAQs
Q1: How often should a dental implant motor be professionally serviced?
Base it on case volume, not the calendar. A motor used several times a week generally needs professional service more often than one used occasionally, and the exact interval should follow the manufacturer's guidance alongside your own usage log.
Q2: Can a dental implant motor be used if it briefly overheats during a procedure?
No, stop the procedure and switch to a backup unit. Heat like this points to a cooling or lubrication problem that tends to worsen under continued load, so the risk of a full failure mid-case only grows if the motor stays in use.
Q3: What is the typical working lifespan of an implant motor with proper care?
Several years of reliable service is realistic when cleaning, inspection, and servicing happen consistently. Motors left without regular upkeep tend to show performance loss and unexpected faults well before that point.
Q4: Does the handpiece need separate maintenance from the motor itself?
Yes, the handpiece and motor have different maintenance needs and schedules. The handpiece typically requires lubrication and sterilization after each use, while the motor unit needs periodic professional inspection on a longer cycle.
Q5: Is a backup motor necessary for a single-chair dental practice?
Yes, even a single-chair practice benefits from having one on hand. A backup unit prevents a surgical day from being cancelled or delayed if the primary motor fails an inspection or develops a fault the morning of a procedure.